1 2 3 4 5 |
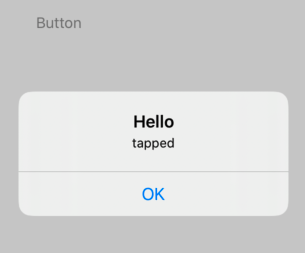
@IBAction func onTap(_ sender: Any) { let alertController = UIAlertController(title: "Hello", message: "tapped", preferredStyle: .alert) alertController.addAction(UIAlertAction(title: "OK", style: .default, handler: nil)) present(alertController, animated: true, completion: nil) } |
投稿者: uchukamen
mac / swiftでは、 “\” ≠ ”¥”
.NET/C# では、バックスラッシュ “\” は、エンマーク”¥”で表示され、同じ意味ですが、mac / swift では、別物として扱われる。
例えば、
label.text = “\(sender.selectedSegmentIndex)” では、sender.selectedSegmentIndex が正しく評価されるが、
label.text = “¥(sender.selectedSegmentIndex)” では、
sender.selectedSegmentIndex が評価されず、文字列として扱われる。
\ の入力方法は、option キー + “¥”キー
AVPlayerViewController をコントローラとして、ビデオをリピート再生。
1 2 3 4 5 6 7 8 9 10 11 12 13 14 15 16 17 18 19 20 21 22 23 24 25 26 27 28 29 30 |
import UIKit import AVFoundation import AVKit class ViewController: AVPlayerViewController { override func viewDidLoad() { super.viewDidLoad() // Do any additional setup after loading the view. NotificationCenter.default.addObserver(self, selector: #selector(playerItemDidReachEnd(_:)), name: NSNotification.Name.AVPlayerItemDidPlayToEndTime, object: nil) let path1 = Bundle.main.path(forResource: "kh", ofType: "mp4")! let asset1 = AVAsset(url: URL(fileURLWithPath: path1)) let playerItem1 = AVPlayerItem(asset: asset1) self.player = AVPlayer(playerItem: playerItem1) self.player?.actionAtItemEnd = AVPlayer.ActionAtItemEnd.none self.player?.play() } @objc private func playerItemDidReachEnd(_ notification: Notification) { // 動画を最初に巻き戻す self.player?.currentItem?.seek(to: CMTime.zero, completionHandler: nil) } } |
Windows 10 Updateにより、Let’s Note CF-SX1 が遅くなった
Windows 10 Updateにより、Let’s Note CF-SX1 が遅くなりました。 Let’s Note CF-SX1 は、だいぶ古いPCですが、今も現役で使っています。状況としては、何もアプリを実行していないのに、CPUが50%以上消費されており、マウスの入力がなかなか受け付けられない状況でした。最初、ソフトウェアの更新がバックグラウンドで実行されているのかと思いましたが、プロセスの状況をみると違うようです。
そこで、CF-SX1 のドライバーから、 Intel Dynamic Platform and Thermal Framework を再インストールしたら、復旧できました。
おそらく、熱の判定が誤っていて、割り込みがかかりまくって、処理が極端に遅くなっているのではないかと思います。デフォルトのドライバーだと、この設定が書き換えられてしまうのではないかと想像しています。
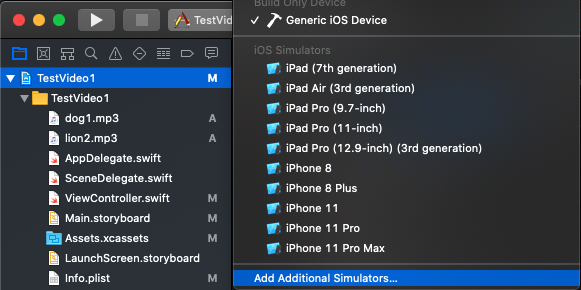
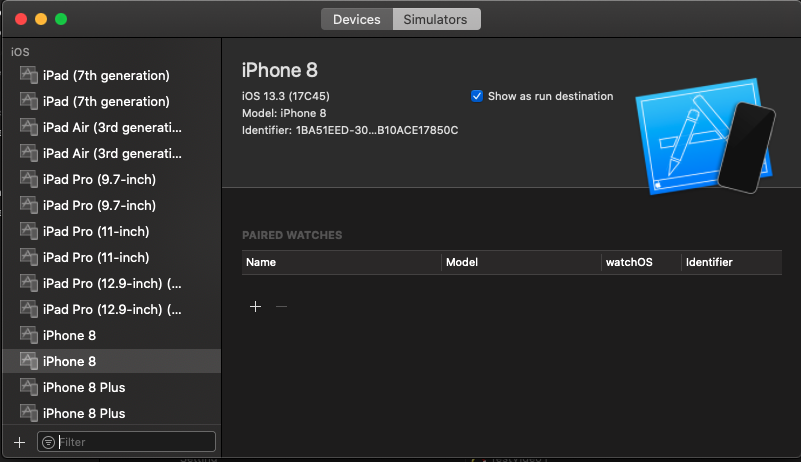
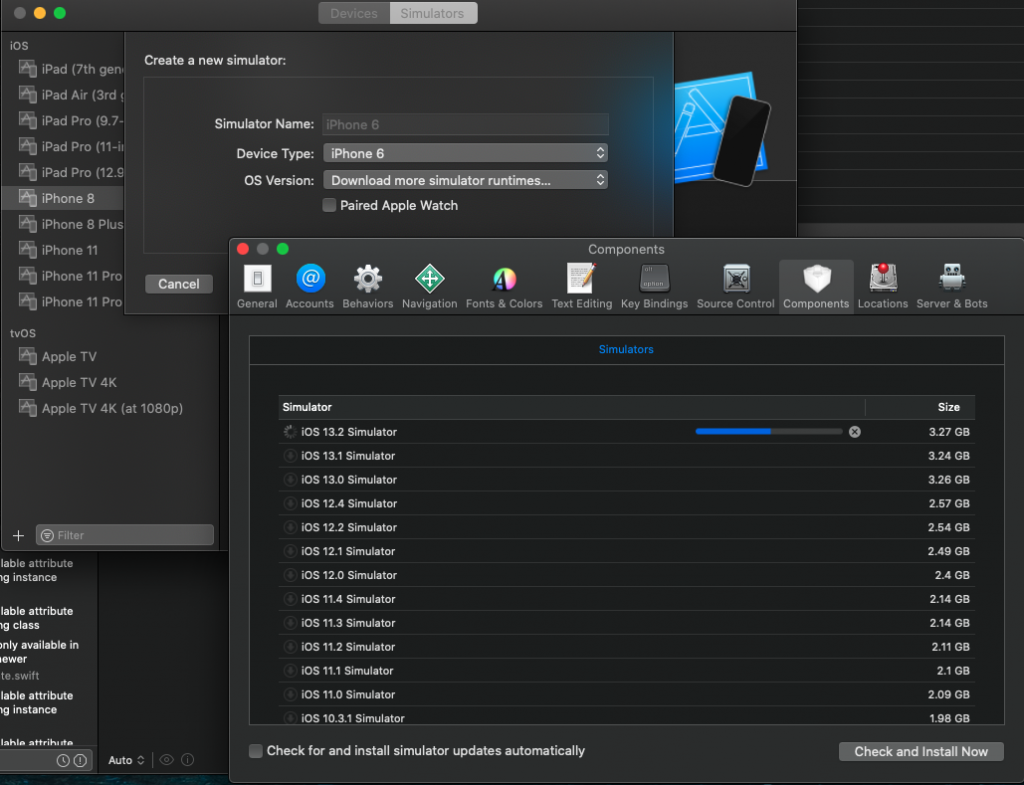
xcodeに古いシミュレータを追加
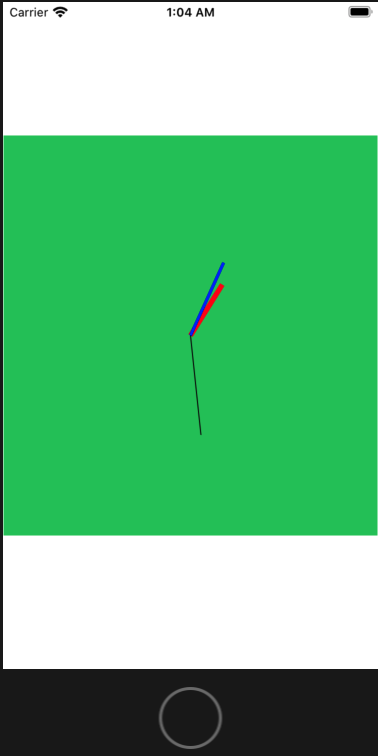
Swift でアナログクロックを作ってみた
.NET/C# からすると、全体の設計が違っているので、とても戸惑いました。最初は、UIViewに直接描画するのかと思いましたが、秒、分、時それぞれごとにCAShapeLayer に時計の針を描画して、レイヤーの原点を translateしてセンタリングして、さらに時間に合わせて rotate し、で重ね合わせる方法が良さそうです。秒針をスムースに動かすのであれば、Animation を適用すればOK。1
1 2 3 4 5 6 7 8 9 10 11 12 13 14 15 16 17 18 19 20 21 22 23 24 25 26 27 28 29 30 31 32 33 34 35 36 37 38 39 40 41 42 43 44 45 46 47 48 49 50 51 52 53 54 55 56 57 58 59 60 61 62 63 64 65 66 67 68 69 70 71 72 73 74 75 76 77 78 79 80 81 82 83 84 85 86 87 88 89 90 91 92 93 94 95 96 97 98 99 100 101 102 103 104 105 106 107 |
import UIKit class UIClockView: UIView { var secLayer: CAShapeLayer! var minLayer: CAShapeLayer! var hourLayer: CAShapeLayer! override init(frame: CGRect) { super.init(frame: frame) addHourLayer() addMinLayer() addSecLayer() } required init?(coder: NSCoder) { super.init(coder: coder) addHourLayer() addMinLayer() addSecLayer() } func drawClock() { let date = Date() let calendar = Calendar.current let hour = Int(calendar.component(.hour, from: date)) let min = Int(calendar.component(.minute, from: date)) let sec = Int(calendar.component(.second, from: date)) drawHourLayer(hour: hour, min: min) drawMinLayer(min: min, sec: sec) drawSecLayer(sec: sec) } func addHourLayer() { hourLayer = CAShapeLayer() hourLayer.isHidden = true hourLayer.strokeColor = UIColor.red.cgColor hourLayer.lineWidth = 5.0 let line = CGMutablePath() line.move(to: CGPoint(x:0,y:0)) line.addLine(to:CGPoint(x:80,y:0)) hourLayer.path = line self.layer.addSublayer(hourLayer) } func drawHourLayer(hour: Int, min: Int) { let radian = 2.0 * CGFloat.pi * (CGFloat(hour) + CGFloat(min) / 60.0) / 12.0 - 0.5 * CGFloat.pi; let translation = CGAffineTransform(translationX: self.bounds.width/2, y: self.bounds.height/2) let rotation = CGAffineTransform(rotationAngle: radian) let trans = rotation.concatenating(translation) hourLayer.setAffineTransform(trans) hourLayer.isHidden = false } func addMinLayer() { minLayer = CAShapeLayer() minLayer.isHidden = true minLayer.strokeColor = UIColor.blue.cgColor minLayer.lineWidth = 3.0 let line = CGMutablePath() line.move(to: CGPoint(x:0,y:0)) line.addLine(to:CGPoint(x:80,y:0)) minLayer.path = line self.layer.addSublayer(minLayer) } func drawMinLayer(min: Int, sec: Int) { let radian = (2.0 * CGFloat.pi * CGFloat(min) + CGFloat(sec) / 60.0) / 60.0 - 0.5 * CGFloat.pi; let translation = CGAffineTransform(translationX: self.bounds.width/2, y: self.bounds.height/2) let rotation = CGAffineTransform(rotationAngle: radian) let trans = rotation.concatenating(translation) minLayer.setAffineTransform(trans) minLayer.isHidden = false } func addSecLayer() { secLayer = CAShapeLayer() secLayer.isHidden = true secLayer.strokeColor = UIColor.black.cgColor secLayer.lineWidth = 1.0 let line = CGMutablePath() line.move(to: CGPoint(x:0,y:0)) line.addLine(to:CGPoint(x:100,y:0)) secLayer.path = line self.layer.addSublayer(secLayer) } func drawSecLayer(sec: Int) { let radian = 2.0 * CGFloat.pi * CGFloat(sec) / 60.0 - 0.5 * CGFloat.pi; let translation = CGAffineTransform(translationX: self.bounds.width/2, y: self.bounds.height/2) let rotation = CGAffineTransform(rotationAngle: radian) let trans = rotation.concatenating(translation) secLayer.setAffineTransform(trans) secLayer.isHidden = false } } |
Swift でのタイマー
Timer
objcパターン
1 2 3 4 5 6 7 8 9 |
Timer.scheduledTimer(timeInterval: 5, target: self, selector: #selector(ViewController.timerUpdate), userInfo: nil, repeats: true) ... @objc func timerUpdate() { print("update") } |
新しいパターン1
1 2 3 4 5 6 7 8 9 |
Timer.scheduledTimer( withTimeInterval: 1, repeats: true, block: TimerCallback) ... func TimerCallback(timer: Timer) { print("Called") } |
新しいパターン2
1 2 3 4 5 |
Timer.scheduledTimer( withTimeInterval: 1, repeats: true, block: {(timer: Timer) in print("Block Called")} ) |
インターバルの単位は秒。0を指定した場合は、0.1mSec。
タイマーの停止:同一スレッド内から、Timer.invalidate()を呼び、RunLoopから削除する。
Windows で Mac のキーボード、マウスを使うときのmemo
ダウンロード – Boot Camp サポートソフトウェア 5.1.5769 からドライバーをダウンロードする。
次のドライバーをダウンロード。
AppleKeyboardInstaller64.exe
AppleWirelessMouse64.exe
BlueTooth で接続する。この時、いったんマウス、キーボードの電源をオフにしてから、再接続する。
mouseのホイールが逆なので、次を参考に逆にする。
SKEmitterNode
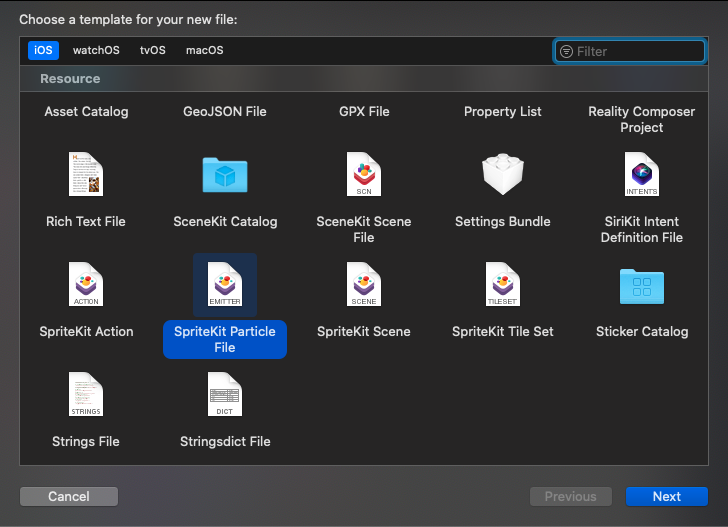
File -> New -> Fileから、SpriteKit Particle File を追加する。
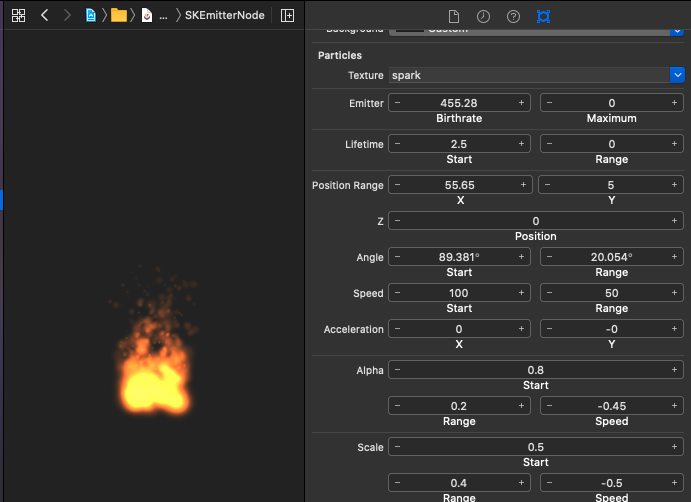
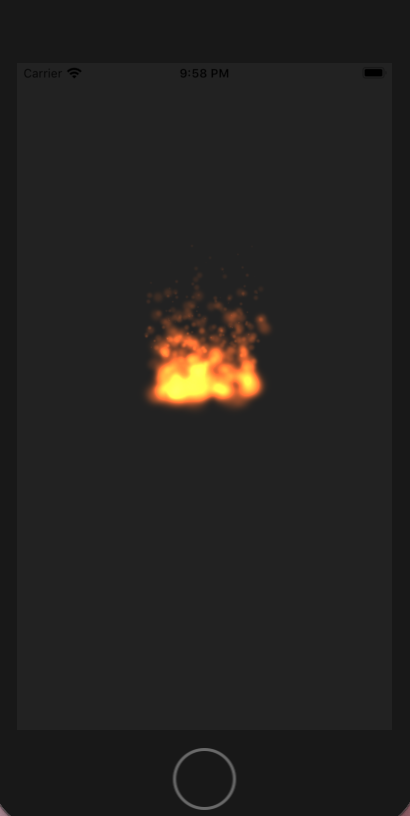
パラメータを調整する。
1 2 3 4 5 6 7 8 9 10 11 12 13 14 15 16 17 18 19 20 21 22 23 24 25 26 27 |
// ViewController.swift import UIKit import SpriteKit class ViewController: UIViewController { let emitterNode = SKEmitterNode(fileNamed: "MyParticle.sks")! override func viewDidLoad() { super.viewDidLoad() addParticle() } private func addParticle() { let skView = SKView(frame: view.frame) let scene = SKScene(size: view.frame.size) skView.presentScene(scene) skView.isUserInteractionEnabled = false scene.anchorPoint = CGPoint(x: 0.5, y: 0.5) scene.addChild(emitterNode) emitterNode.position.y = 0 emitterNode.particlePositionRange.dx = 100 view.addSubview(skView) } } |
CMMotionManager でモーションを取得
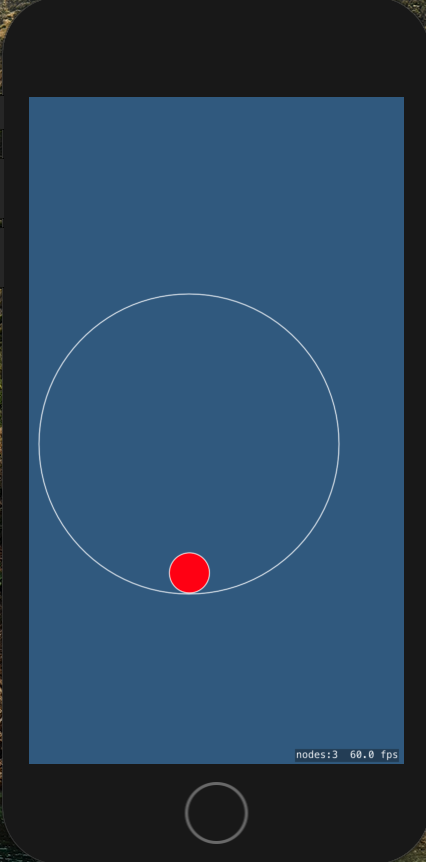
デバイスの傾きをCMMotionManagerで取得すれば、水準器みたいなことができる。
1 2 3 4 5 6 7 8 9 10 11 12 13 14 15 16 17 18 19 20 21 22 23 24 25 26 27 28 29 30 31 32 33 34 35 36 37 38 39 40 41 42 43 44 45 46 47 48 49 |
// GameScene.swift import SpriteKit import GameplayKit import CoreMotion class GameScene: SKScene { let redBallCategory:UInt32 = 0b0001 let circleCategory:UInt32 = 0b0001 private let motionManager = CMMotionManager() override func didMove(to view: SKView) { let ballRadius: CGFloat = 20 let redBall = SKShapeNode(circleOfRadius: ballRadius) redBall.fillColor = .red redBall.position = CGPoint(x: 160, y: 320) redBall.physicsBody = SKPhysicsBody(circleOfRadius: ballRadius) let circle = SKShapeNode(circleOfRadius: 150.0) circle.position = CGPoint(x:160, y: 320) circle.strokeColor = .white circle.physicsBody = SKPhysicsBody(edgeChainFrom: circle.path!) circle.physicsBody?.restitution = 0.75 redBall.physicsBody?.collisionBitMask = 0b0001 circle.physicsBody?.categoryBitMask = 0b0001 self.addChild(redBall) self.addChild(circle) redBall.physicsBody?.categoryBitMask = redBallCategory circle.physicsBody?.categoryBitMask = circleCategory } override func sceneDidLoad() { super.sceneDidLoad() guard motionManager.isDeviceMotionAvailable else { return } motionManager.deviceMotionUpdateInterval = 0.1 // 0.1 Sec motionManager.startDeviceMotionUpdates(using: .xMagneticNorthZVertical, to: OperationQueue.current!, withHandler: { [weak self] (motion, error) in guard let motion = motion, error == nil else { return } self?.physicsWorld.gravity = CGVector(dx:motion.attitude.roll * 5.0, dy:-motion.attitude.pitch * 5.0) }) } } |